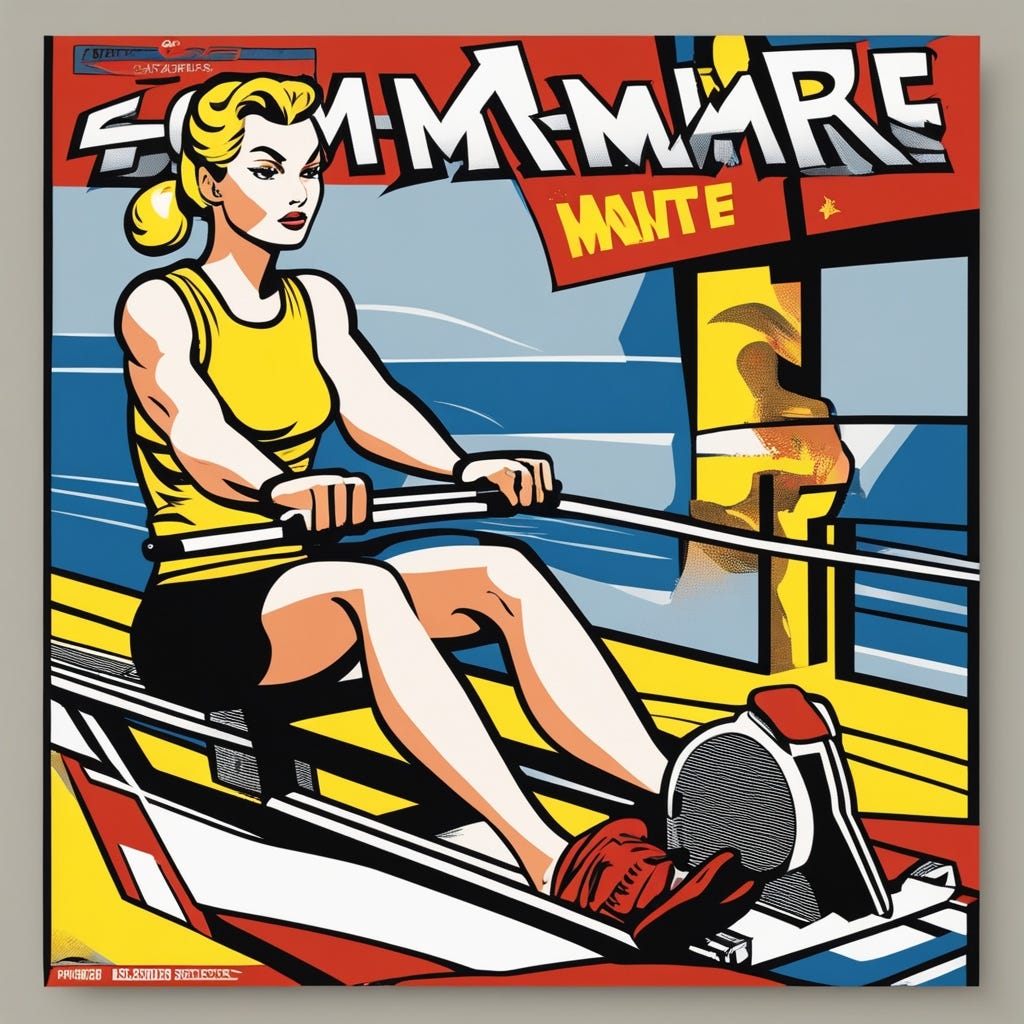
In my opinion, the rowing machine is, in all likelihood, the most underrated and underutilized piece of equipment in any gym. It’s easy to see why, though. Rowing isn’t an everyday recreational activity for most people; the machine looks funny, the display screen has myriad numbers that can be quite confusing to a first-timer, and the last thing most people in a gym want is to be seen as not knowing what they’re doing. I suppose that last part applies to almost any aspect of life, but still. I have come to spread the good news that anyone can learn to row with just a bit of patience and practice, and I want to explain why it might be the best option for you.
Rowing is a total-body workout. Your legs, arms, and core must work together to perform a smooth and efficient stroke.
Rowing is very low-impact, so it’s usually an excellent alternative for those with knee, hip, or ankle issues that prevent them from running or other high-impact activities.
You can make it as easy or as hard as you want. For a longer workout, maintain a slow and steady pace, alternate between high and low intensity for intervals, or even make an all-out effort. The more power you put behind each stroke, the harder your workout will be.
Below is the screen of a Concept 2 rower, the most popular brand you’ll likely encounter in a gym. The screens of other brands of rowers are similar and display the same information. With so many buttons and numbers being shown, it’s easy to see someone can get confused. Fortunately, you need to know only a few numbers to get started. I’ll start at the top of the screen and work down.
Time: This is the total time you have spent rowing. On most rowers, the screen turns on once you start using the device. Once the screen turns on, it will begin at 0 and count up for your total rowing time.
Pace Per 500 Meters: This is where it gets tricky. This is how long it will take you to row 500 meters at your current pace. For the shot below, it would take this person two minutes and nine seconds to row 500 meters. This number will constantly change as you row because it depends on how much effort you’re rowing with. The harder you row, the lower this time will be. Conversely, the less effort you use, the higher the time will be. Using the pace per 500 meters is the best way to gauge intensity. For example, if you row 500 meters in 2:09 and are completely exhausted, that is a high-effort pace for you, which would be best suited for a high-intensity workout. If you row 500 meters at a 3-minute pace and feel fine, you could likely sustain that pace for a longer cardiovascular session. Finding a low, medium, and high-intensity pace is the most significant learning curve when using a rower. It will likely take a few sessions to know what is right for you, but once you get a handle on what pace works for you, it will take much of the guesswork out of your workout.
Meters: This is the distance rowed in meters. It will start at 0 and continuously go up as you row. How fast this number goes up relies upon how much effort you’re rowing with. The harder you row, the quicker it goes up.
Strokes Per Minute (SPM): How many strokes you complete in one minute. I recommend aiming for between 20 and 25 SPM. The key to a good rowing workout is to be efficient with your strokes. Row too fast, and you needlessly waste energy. This is easily the most challenging part of learning to row for most people. For reasons I don’t quite understand, everyone wants to start at a sprinter’s pace, and their SPM is hovering around 40. They quickly learn that this is not sustainable because you will be spent after just a few minutes if you maintain such a fast pace. The only time you should have an elevated SPM is if you’re going at an all-out pace, in which case your duration will be short because you’re working so hard.
Below is a video demonstrating the proper technique, which can be broken down into three steps:
Push: This is when you initiate your stroke. From the starting position, push hard as if you’re trying to press through the footplates. Keep your feet flat and drive hard to extend your legs. You will want to exhale your breath while pushing back as well.
Pull: When your legs are almost fully extended, finish the row by pulling with your arms. Keep your shoulders pulled down and back and your torso upright. Leaning back slightly is fine, but don’t go crazy and hinge way back. Pull the handle into your belly button. When you are back, pause briefly before the punch.
Punch: Punch forward quickly with your hands. When your hands go over your knees, bend them to slide back to the starting position. Inhale as you come back to the front of the rower.
Armed with this knowledge, you now have no excuse not to give the rower a try. Let me know how it goes!
Looking for a more personalized training experience? Need help with your fitness journey but not sure where to start? I've got you covered. I offer online training services. If you need more information, feel free to send me a message - I'll be glad to assist.


